October 19, 2026
The Complete Car Detailing Checklist for Mobile Detailers (Interior and Exterior)
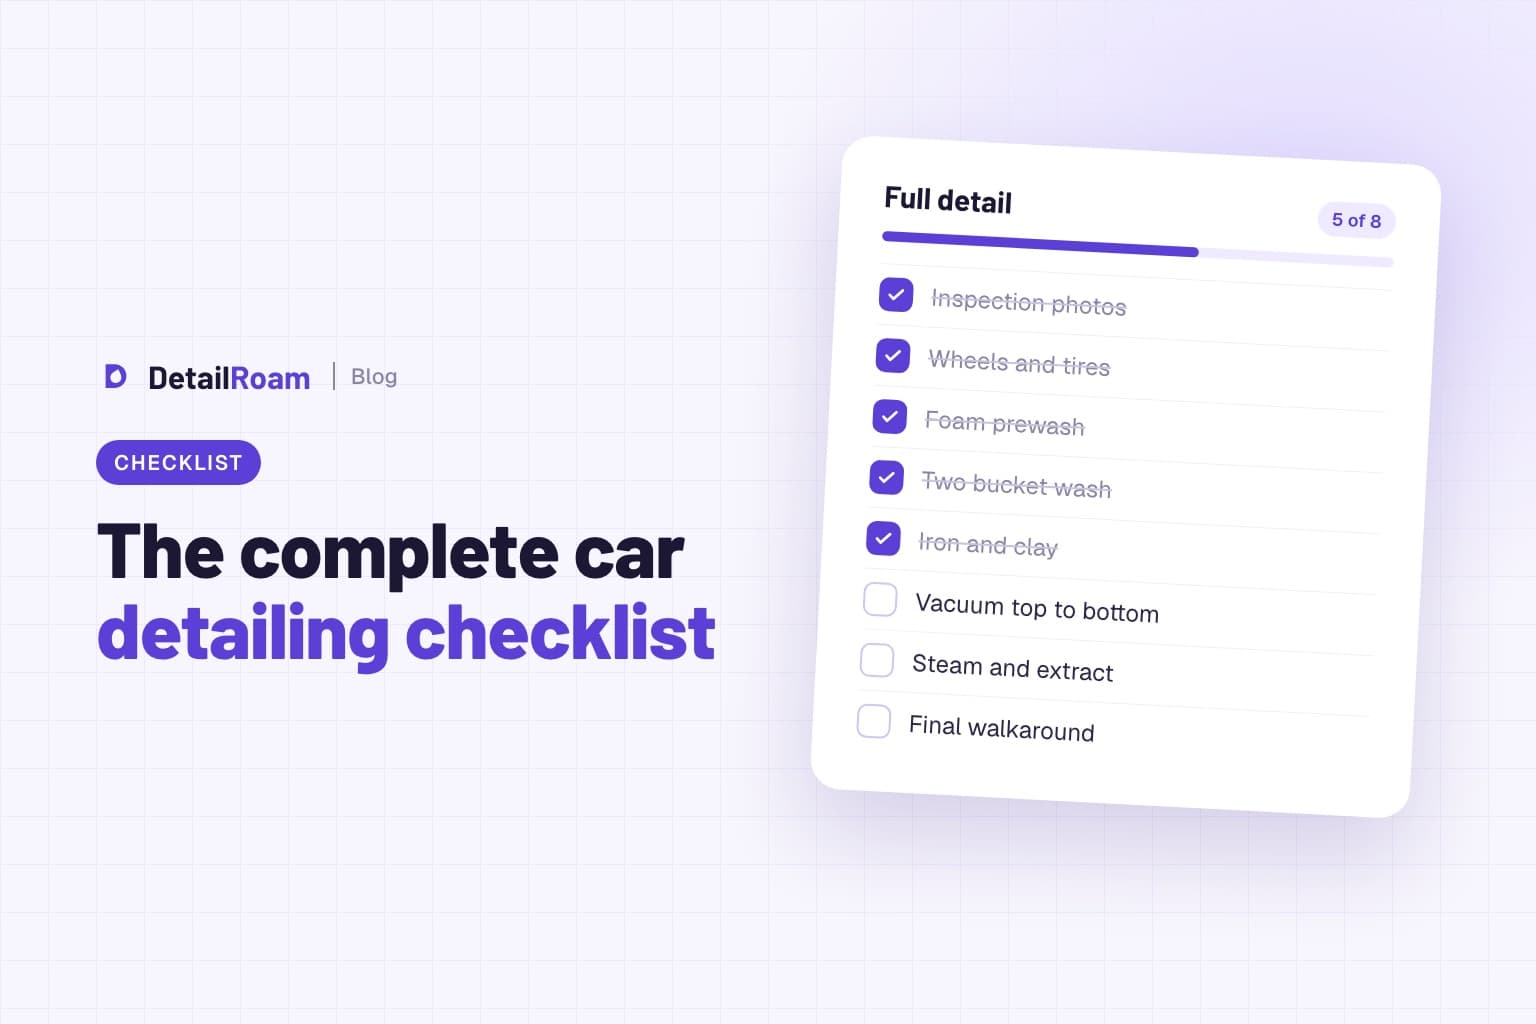
The difference between a detailer who gets by and one who stays booked is rarely talent. It is consistency. When every car gets the same steps in the same order, the results look the same, the job takes a predictable amount of time, and you stop leaving the door jambs dirty on the days you are tired.
This checklist walks through a full detail the way experienced mobile detailers run it: the inspection before you touch the car, the exterior in the order that avoids rework, the complete interior process, and the wrap up where you actually get paid. Use it as written, or trim it into checklists for each package you sell.
Before you start: the pre job checklist
Most problems on a detail start before the first drop of water. Five minutes here saves an hour of headaches later.
Confirm the job. Match the service, the vehicle and the address to what was booked. If the customer booked an express wash and the car needs a full interior, talk about it now, not after.
Check water and power. Know whether you are running off your own tank and generator or the customer's spigot and outlet. Locate both before you unload.
Do a walkaround inspection. Photograph every panel, the wheels, the windshield and the interior. Note scratches, chips, curb rash, stains and tears. This is your protection if a customer later says something was not there before.
Ask about problem areas. Spilled coffee, pet hair, a smell they cannot find, a scratch they want looked at. Customers judge the whole job by whether you fixed the thing they cared about.
Remove personal items. Bag anything loose, from sunglasses to charging cables, and set it somewhere safe. Never throw away paperwork or receipts without asking.
Set up your workspace. Park in the shade if you can, keep cords and hoses out of walkways, and lay out your towels and chemicals so you are not walking back to the rig every five minutes.
Exterior detailing checklist (in order)
The order matters. You always work from the dirtiest parts to the cleanest and from the top down, so you never drag grime onto a surface you already finished.
1. Wheels, tires and wheel wells first
Wheels collect brake dust, the heaviest and most abrasive dirt on the car. Clean them first with a dedicated wheel cleaner, separate brushes and a separate bucket so that grit never touches the paint. Scrub the tire sidewalls and rinse the wheel wells while you are down there.
2. Pre rinse and foam prewash
Rinse the whole car to knock off loose dirt, then apply a foam prewash and let it dwell for a few minutes without drying. The goal is to remove as much grit as possible before anything touches the paint. Rinse thoroughly from the top down.
3. Two bucket contact wash
Use one bucket with soapy water and one with plain rinse water, both with grit guards. Wash one panel at a time from the roof down with a clean mitt, rinse the mitt before every reload, and save the lower panels and bumpers for last. A pH neutral shampoo protects any existing wax, sealant or coating.
4. Decontamination: iron remover and clay
Spray an iron remover on the paint and wheels to dissolve embedded brake dust and rail dust. After rinsing, run your hand over the paint inside a sandwich bag. If it feels rough, clay it with plenty of lubricant. Decontamination is what makes paint feel glassy and what lets protection bond properly.
5. Dry without scratching
Use a filtered air blower for mirrors, grilles, emblems and seams, then finish with a large, plush drying towel. Lay the towel flat and pull it across the panel instead of scrubbing. Dropped towel? It goes in the dirty bin, not back on the car.
6. Inspect the paint under good light
Use an inspection light to look for swirl marks, water spots and scratches. This is the moment to show the customer what you see and decide together whether a polish or correction makes sense.
7. Polish or correct (if it is part of the package)
A one step polish removes light swirls and boosts gloss. Heavier defects need a compound followed by a finishing polish. Always do a test spot first so you know which pad and product combination works on that paint before you commit to the whole car.
8. Protect the paint
Finish the paint with the protection the customer paid for: a spray sealant on an express job, a paste wax or sealant on a full detail, or a ceramic coating on a coating package. Wipe the paint with a panel prep spray first so the protection bonds to clean paint, not polishing oils.
9. Glass, trim and tires
Clean the glass inside and out with a dedicated glass towel, then dress plastic trim and tires with a product that dries to the finish your customer expects. Wipe away any dressing that slings onto the paint.
10. Door jambs, fuel door and final touches
Door jambs are the first thing a customer sees when they open the car, and the first thing a rushed detailer forgets. Wipe the jambs, the fuel door and the trunk edges, then do one slow lap around the car looking for streaks, wax residue and drips.
Interior detailing checklist
Inside the car, the same rule applies: top to bottom, dry before wet, and hard surfaces before fabric so dust does not settle on something you already cleaned.
1. Remove trash, mats and personal items
Empty every pocket, cupholder and door bin. Pull the floor mats and set them aside to clean separately.
2. Dry vacuum from the top down
Vacuum the headliner area, seats, seat tracks and carpets, moving the seats forward and back to reach everything. Use a crevice tool along the seat seams and console edges.
3. Blow out vents, seams and crevices
Compressed air or a blower pushes dust out of vents, seat rails and panel gaps. Follow up with a soft detailing brush and catch the dust with the vacuum.
4. Clean hard surfaces
Wipe the dash, console, door panels and steering wheel with an interior cleaner that is safe for plastics, vinyl and screens. Use soft brushes on textured surfaces and switch to a fresh towel often. Avoid greasy dressings on the steering wheel and pedals.
5. Shampoo and extract upholstery and carpet
Pretreat stains, agitate with a brush, and extract with a hot water extractor. Do not oversaturate. A steamer helps lift sticky spills and sanitize cupholders. Leave the doors or windows open while things dry.
6. Leather: clean first, then condition
Clean leather with a dedicated leather cleaner and a soft brush, wipe it dry, then apply a conditioner if the customer's leather calls for it. Conditioning dirty leather just seals the dirt in.
7. Headliner, gently
Headliners are glued fabric, and soaking them can make them sag. Spray cleaner onto a towel, never directly on the headliner, and blot rather than scrub.
8. Interior glass and screens
Clean the inside of every window, the mirrors and the screens last so dust from the rest of the interior does not land on them. Use a screen safe product on touch displays.
9. Floor mats
Scrub rubber mats with an all purpose cleaner and rinse them. Shampoo and extract carpet mats. Make sure they are dry before they go back in, and that the driver mat is clipped in place.
10. Odor check and final look
Sit in the driver seat and look at the car the way the customer will. Check the cupholders, the vents and the seat gaps one more time, and make sure the car smells clean rather than perfumed.
The wrap up checklist (where you get paid)
A great detail can still end with a disappointed customer if the last ten minutes are rushed. Make this part of the job, not an afterthought.
Take after photos from the same angles as your before photos. They are proof of your work and content for your marketing.
Walk the car with the customer. Point out what you fixed, what could not be fixed and why, and anything you noticed that they should watch.
Collect payment on the spot by card, tap to pay or a payment link, and send a receipt.
Ask for a review while they are happy. A short text with your review link a few minutes after you leave works best.
Book the next visit. Suggest a maintenance detail in four to eight weeks, or put them on a reminder so you reach out when they are due.
Make a checklist for each package you sell
You do not run every step on every car. Turn the master list into a short checklist for each package so the customer gets exactly what they paid for and nothing slips.
Express wash: wheels and tires, foam and contact wash, dry, spray sealant, glass, tire dressing, quick vacuum.
Interior detail: the full interior list, plus door jambs and glass inside and out.
Full detail: the full exterior list through protection, the full interior list, and the wrap up.
Paint correction or coating: the full exterior list with extra time for inspection, test spots, correction stages, panel prep and curing instructions.
Pricing these packages well is just as important as running them well. Our guide to mobile detailing pricing walks through how to price each one so the time you spend actually pays.
Using a checklist with a team
A written checklist is the fastest way to train a new detailer and the easiest way to keep quality the same when you are not on every job. Have new hires work through it beside you, then on their own with before and after photos you review at the end of the day. When a customer complaint comes in, the checklist tells you exactly which step was missed.
Software helps here too. In DetailRoam, every job has a vehicle condition report with walkaround photos for each car, notes for existing damage, and a customer sign off right on your phone, and the review request goes out automatically when you mark the job finished.
Frequently asked questions
What order should you detail a car in?
Start with an inspection, then do the exterior from the dirtiest parts to the cleanest: wheels and tires, prewash, contact wash, decontamination, drying, polishing and protection, then glass, trim and door jambs. Inside, work from the top down and do dry steps before wet ones.
Should you detail the interior or exterior first?
Many mobile detailers do the exterior first so the car can dry and cure while they work inside, especially when a sealant or coating needs time. Others start inside on hot days to stay in the shade. Either works, as long as you are consistent and do not drag exterior grime into a finished interior.
How long does a full detail take?
A full interior and exterior detail on an average sedan usually takes three to five hours for one detailer. Paint correction and ceramic coating jobs can take a full day or more depending on the paint condition and the number of correction steps.
Do I need a different checklist for ceramic coating jobs?
Yes. Coating jobs need extra steps for paint depth checks or careful inspection, test spots, multi stage correction, a thorough panel wipe, application and leveling, and clear aftercare instructions for the customer, including how long to wait before washing.